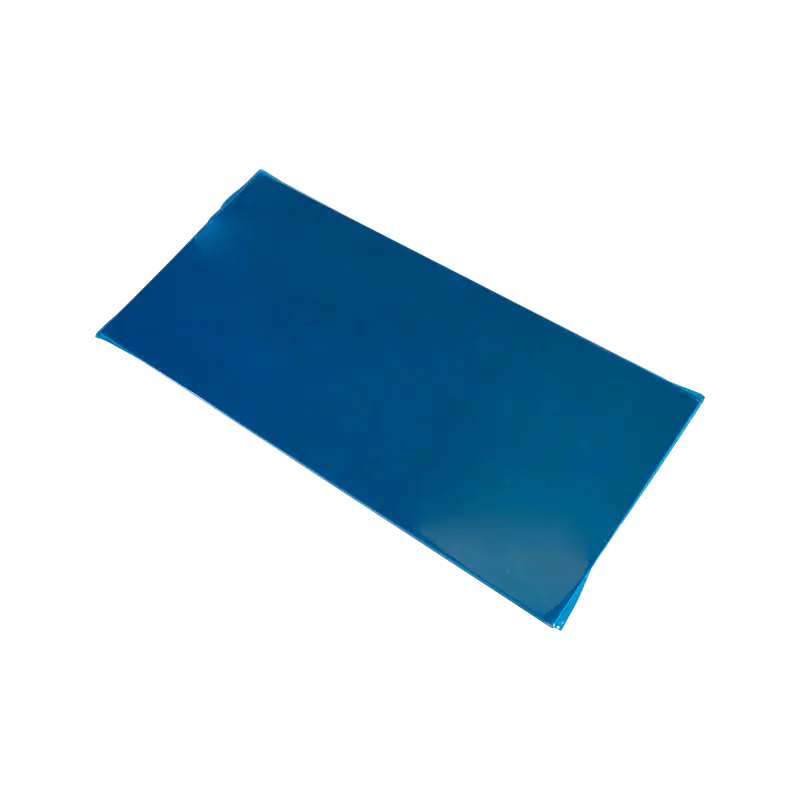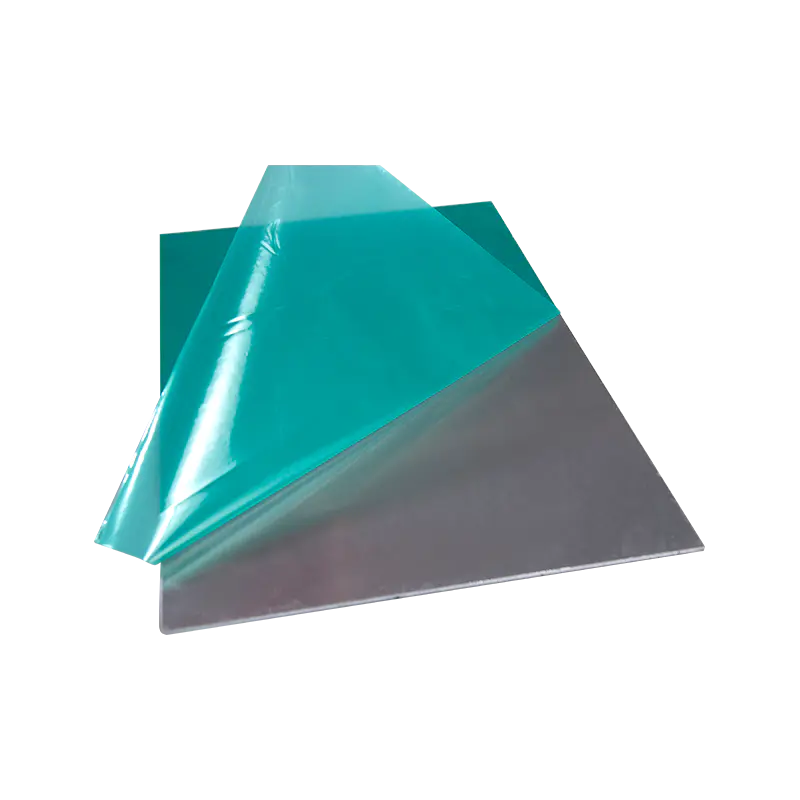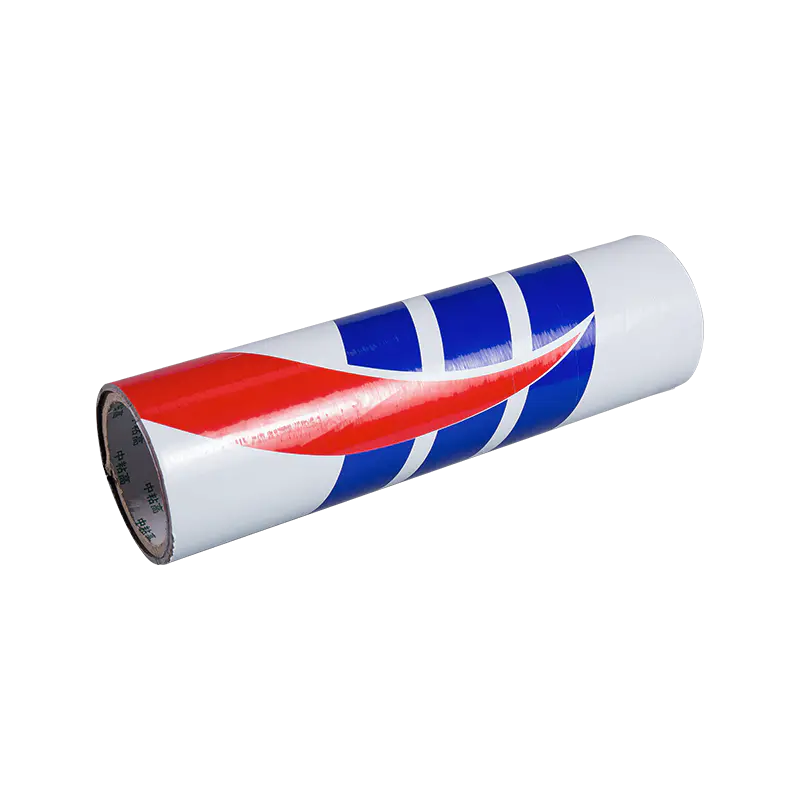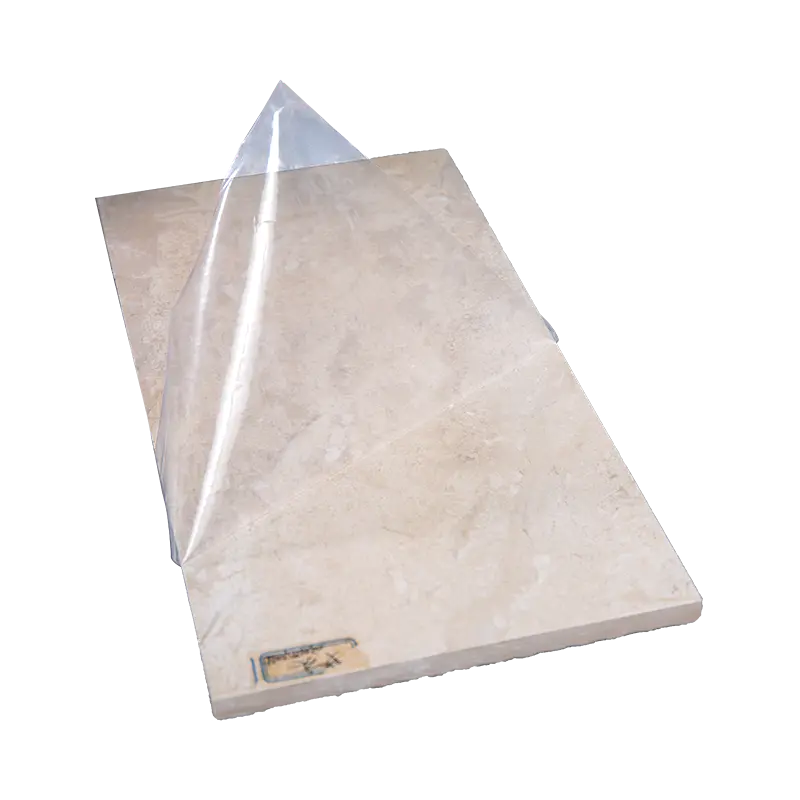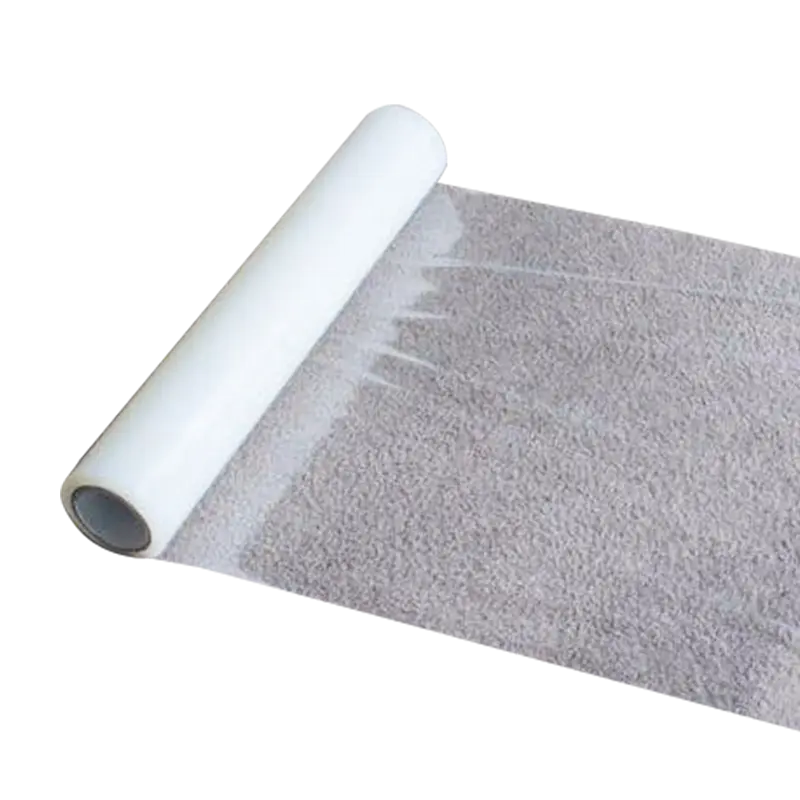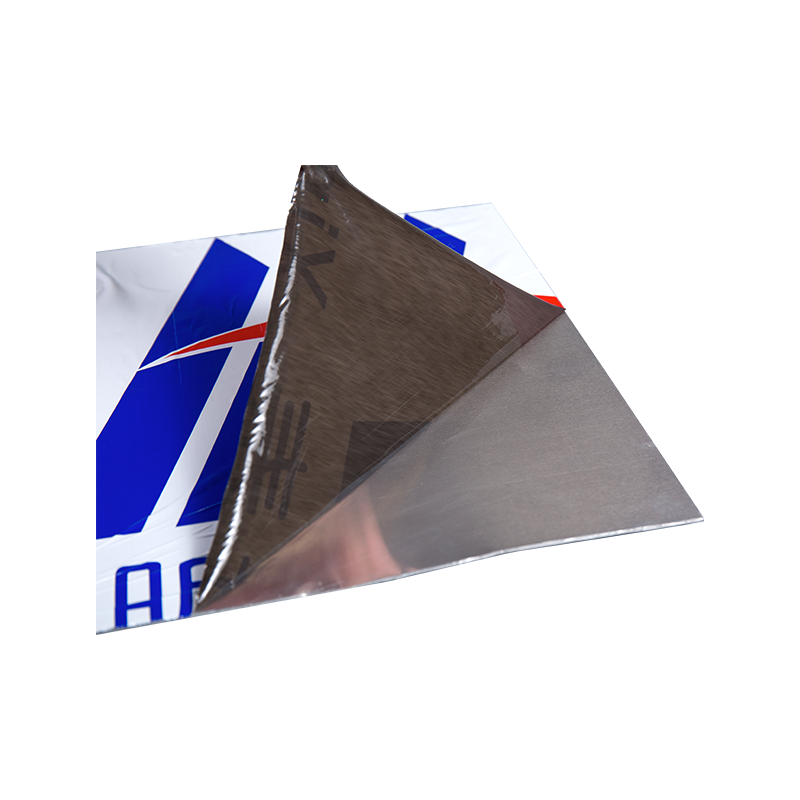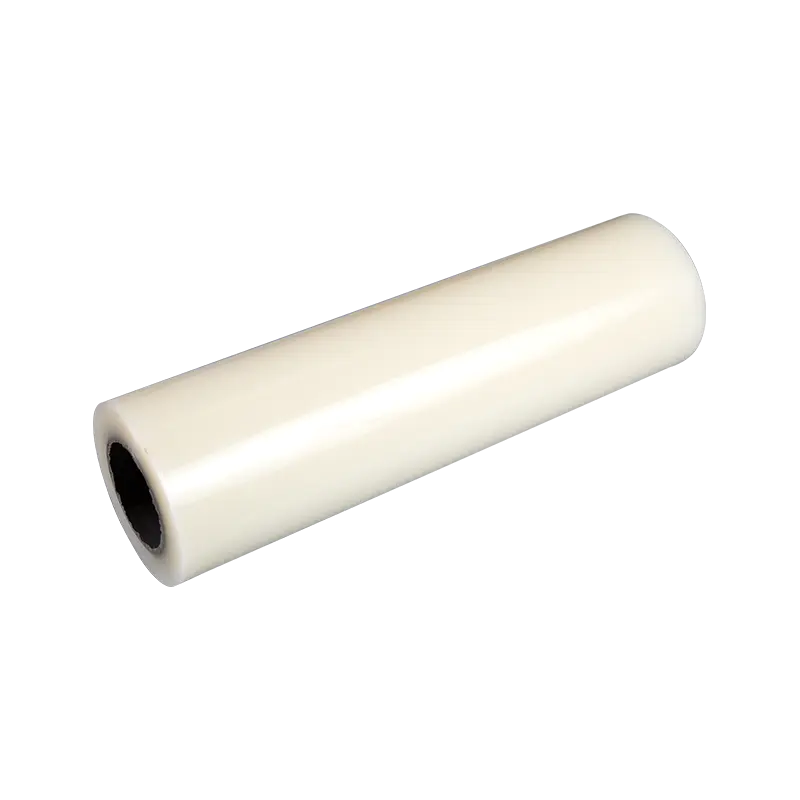
Protective film on stainless steel is made to come off in one piece. A standard sheet arrives under a 50 to 80 micron polyethylene film held by a low-tack acrylic adhesive rated roughly 100 to 300 grams per 25 mm of width, and that adhesive is formulated to release cleanly for six to twelve months under normal indoor storage.
It only becomes hard when time, heat and pressure work on it together. A range hood panel that spent a summer in a non-climate-controlled warehouse, a stack of doors that sat under its own weight for months, or a sheet that went through shearing and bending with the film still in place — each of those pushes adhesive deeper into a brushed surface. Once that happens, pulling harder is the wrong instinct. The film tears, the adhesive smears, and the steel picks up fingernail scratches that polishing will not remove.
The short answer: lift an edge, warm the film to about 30 to 40 °C, and pull it back over itself at a shallow angle, 10 to 15 centimetres at a time. No razor blades, no steel wool, no acetone, no heat gun on a paint-stripping setting. The rest of this guide covers new film, film that has been in place for years, and the specification choices that keep the next batch from turning into a two-hour job.
On a 1.2 m by 2.4 m sheet stored indoors, the job takes ten to fifteen minutes once the material is warm. The order of operations matters more than the tools.
Temperature is the whole game. Adhesive that feels tacky at 35 °C often releases with almost no resistance. The same adhesive at 8 °C in an unheated workshop will tear every 20 cm.
Three mechanisms make removal difficult, and each one has a different fix.
Dwell time. Pressure-sensitive acrylic adhesive wets out the surface gradually. Peel strength that starts near 150 g per 25 mm can climb two or three times over a year of indoor storage, and faster near sunlight or radiant heat.
Pressure. A stack of twenty sheets puts far more load on the bottom panel than the film was tested for. Under that weight the adhesive flows into the brush grain of a No. 4 finish, so the film grips mechanically as well as chemically.
Geometry. The hardest film is not the oldest film. It is the film tucked inside a hemmed seam, behind an appliance door edge, or along a folded range hood lip. There is no free corner to lift, so people attack it with a blade and scratch the panel instead.
Film trapped inside a folded seam is not bonded any harder than the rest of the sheet. It simply has no free edge left to pull from — give it one, and it releases like everything around it.
To create that edge, warm the seam with a hair dryer for 30 seconds, press a strip of strong packing tape over the exposed stub of film and pull the tape, or slide a plastic wedge a millimetre at a time along the fold line. Once a 10 mm tab is free, continue with the normal sequence.
Old film behaves like old tape: the carrier turns brittle, the adhesive cures, and the material shreds into ribbons instead of peeling. Change the technique rather than the effort.
Never use razor blades, steel wool, abrasive pads, bleach or acetone on stainless steel. Scratches in the grain are permanent, and chlorides can pit the surface long after you have wiped them off.
Afterwards the panel should look untouched. A faint grey outline, a slightly tacky patch or a dull halo in raking light means adhesive is still on the surface, and it is worth reading how stainless steel protective film affects the finish after removal before you reach for a polish.
The method matters less than the conditions around it. The table below puts the common approaches side by side.
| Method | Best for | Heat needed | Residue risk | Main risk |
|---|---|---|---|---|
| Hand peel at 20-30° | Film under six months old | None | Low | Tearing in a cold room |
| Hair dryer plus slow pull | Everyday jobs on installed parts | 20-40 s per section | Low | Overheating thin panels |
| Heat gun at 40-60 °C | Aged, brittle or cold film | Controlled, 20-30 cm away | Low | Warping and adhesive transfer |
| Tape-and-pull | Seams and corners with no free edge | Light warming helps | Medium | Tape residue on film edges |
| Solvent or citrus remover | Cured adhesive left on the steel | None | Medium | Oily film needing a second wipe |
| Blade or metal scraper | Nothing on stainless steel | Not applicable | High | Permanent grain scratches |
Most removal problems are decided before the film is ever applied. Four specifications cover almost all of it:
Our stainless steel protective film is specified around that logic, with low-residue acrylic adhesive and PE carriers in the 50 to 80 micron range, and every reel carries a stated application window so the removal date is a decision rather than an accident.
For a production line that handles several metal substrates, keeping the tack grades consistent across them saves a surprising amount of rework at the packing stage.
Film ages on the shelf as well as on the panel. A few handling rules keep removal easy:
A fifteen-minute removal job becomes a two-hour job after roughly eighteen months of indoor storage, and the difference sits entirely in the adhesive.
A properly stripped panel shows four things: no torn film fragments at the edges, no sticky feel under a fingertip, no ghost outline in raking light, and grain lines that stay continuous under a shop lamp. If any of those are missing, the cause is usually temperature or pull angle rather than the film itself.
When you specify film for the next order, match the tack grade to the finish, keep sheets indoors, and put a removal date on the traveller card. A low-tack PE protective film is the right starting point for polished, mirrored or pre-painted surfaces, while brushed and formed panels generally tolerate a medium grade.
Get the sequence right once and removal stops being a job. It becomes a step — one that takes less time than reading the specification sheet that should have been checked before the sheets were covered.

Copyright © Wuxi Wanfeng Protective Film Co., Ltd. All Rights Reserved.
 English
 русский